Creating Your Social Media Image
This tutorial outlines the comprehensive steps to create your social media image effectively.
Updated 2 weeks ago
Begin by clicking on Reviews in the top navigation menu.

Then, search for the review you wish to share. If necessary, utilize the advanced search options to filter by rating and additional parameters.

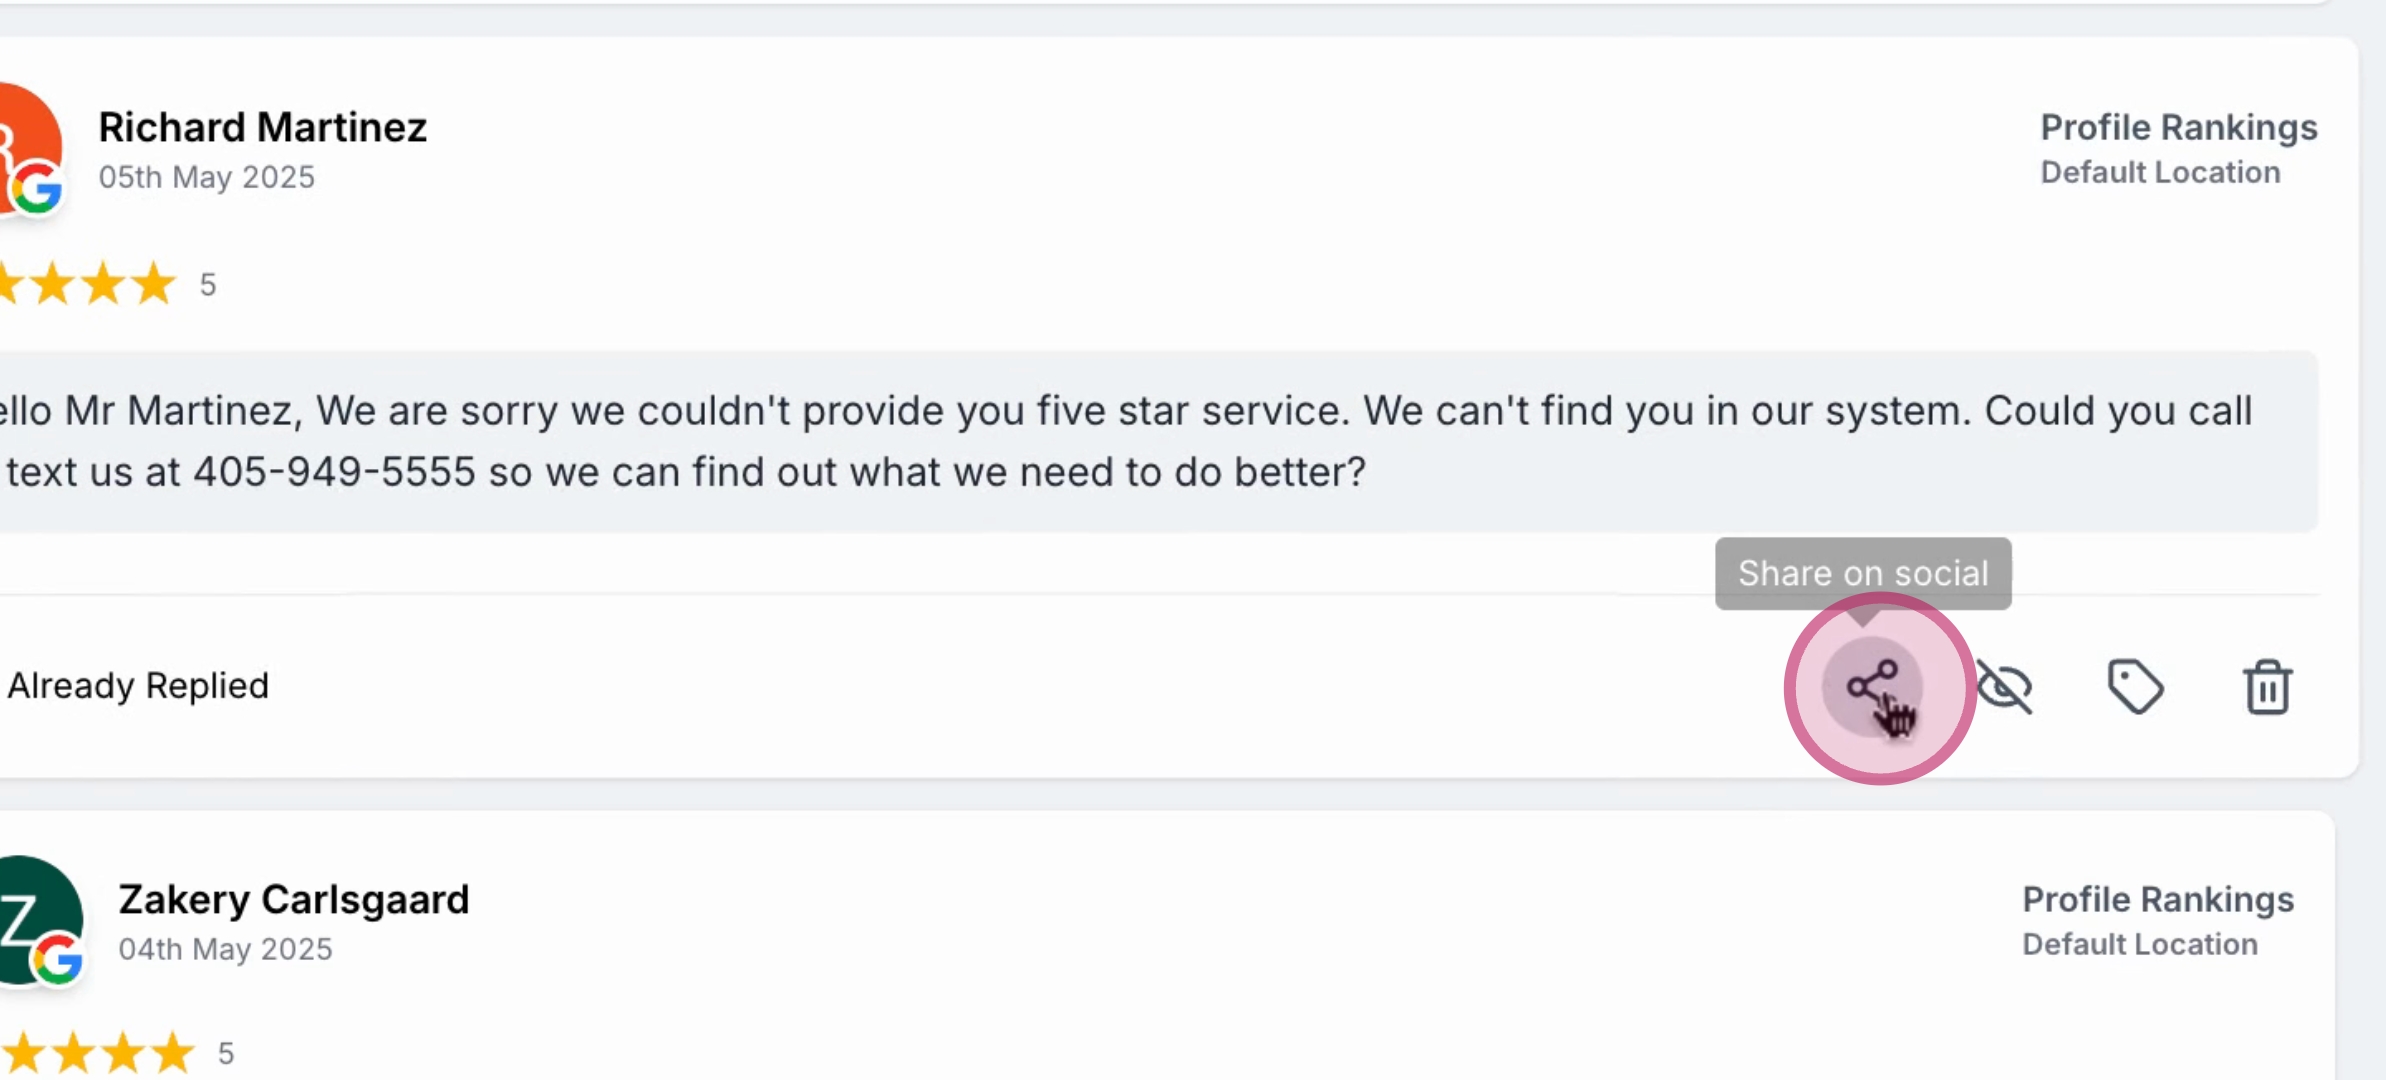
Next, click the Share button on the selected review.
In the Social Image Designer, choose a base template that appeals to you.

Proceed by clicking on the Design tab to personalize your image.

When you are satisfied with your design, click the Share button located in the top right corner of the designer.

After sharing, export your image in either PNG or JPEG format.

If you prefer to upload a custom background, click on the Design tab, select Image under the Background style, and upload your own image.

You also have the option to add your business logo under the Design tab. Locate the Logo section to upload your business logo.

Furthermore, you can resize your image. Simply use the Resize button in the top right corner to choose a predefined size for your desired social media platform, or set a custom size before clicking the Resize button.

By following these steps, you will successfully create and customize your social media image ready for sharing.